On this page
“Ideally, you shouldn’t even be able to see where the lights are getting power from.”
Begin with the view, not the box of lights
A clean display starts before anyone climbs a ladder. Stand where visitors and neighbors will see the home, then identify the street-facing soffits, eaves, peaks, garage, porch, columns, trees, and wreath locations that deserve attention. The goal is not automatically to light every edge. It is to create one clear visual composition.
Color is personal. Warm white tends to feel quiet and inviting, while red, white, and green reads as unmistakably Christmas. When the budget is limited, our team’s simplest recommendation is to prioritize the roofline or a wreath. Those focal points usually create more impact than scattering a few lights across many features.
Match the light to the job
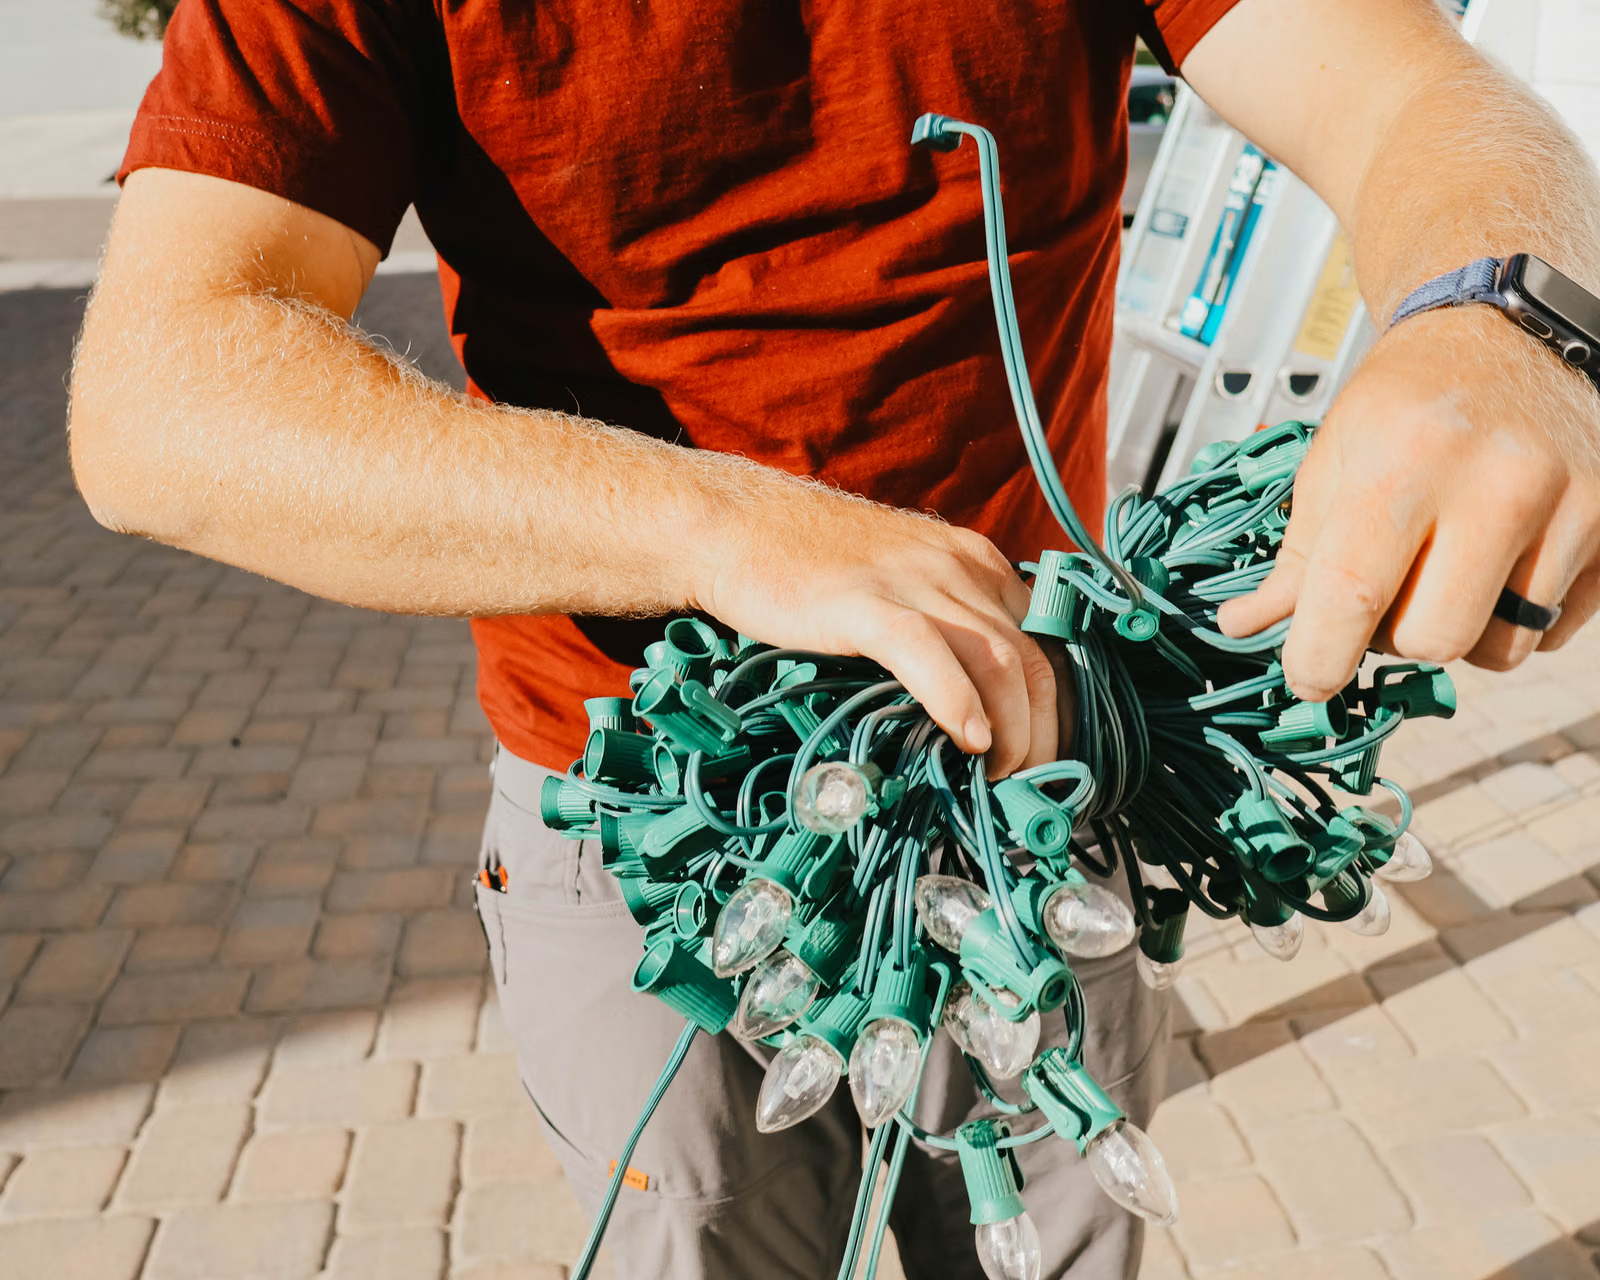
C7 and C9 bulbs are the traditional choice for rooflines because each bulb can face outward and follow the architecture. C7 bulbs are roughly half the size of C9s. Mini lights are smaller, closer together, and normally better suited to trunks, branches, evergreens, and bushes.
Commercial-grade products offer better customization than most retail sets. A professional can select the socket spacing, bulb colors, wire color, clips, plugs, and lead cord as one system. Read our practical comparison of C7, C9, and mini lights before choosing a product.
Build a straight, consistent roofline
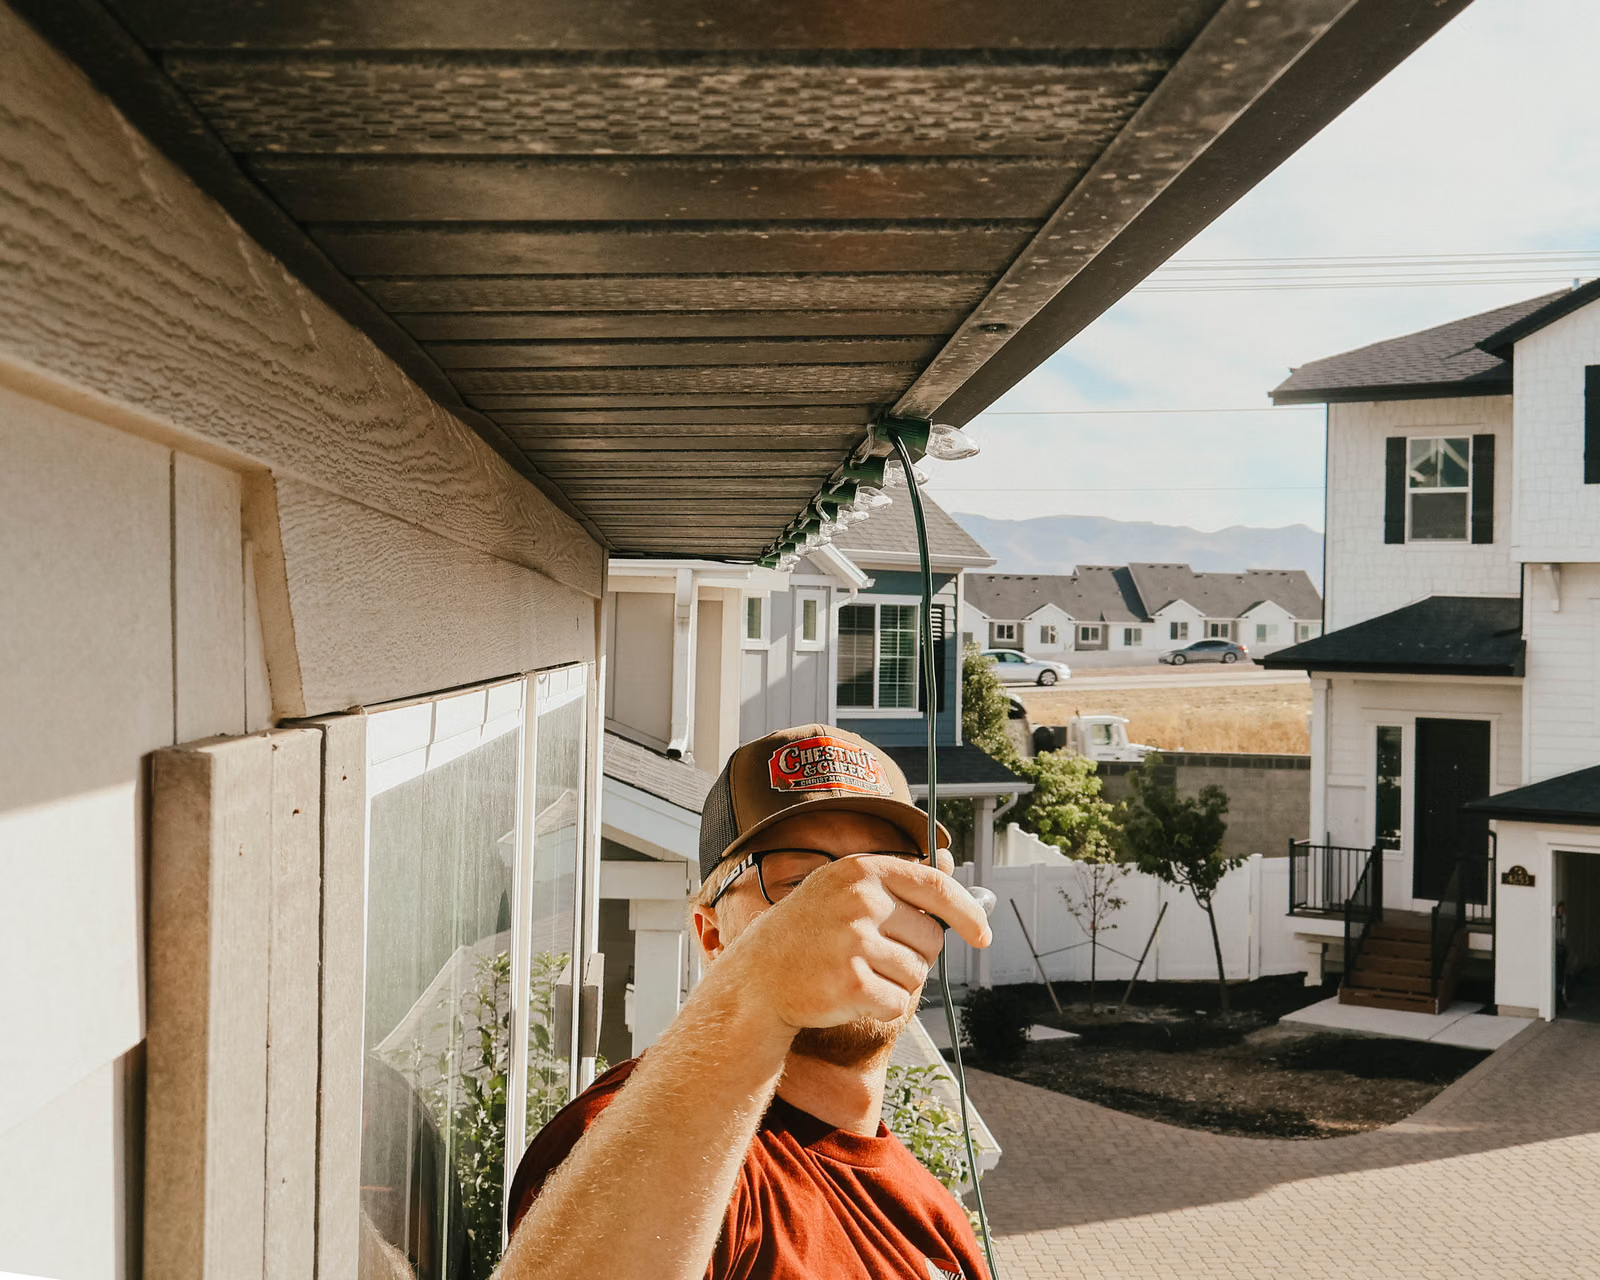
The right attachment depends on the surface. Shingle tabs, Solo Light Clips, and clips intended for clay tile solve different problems. Using one inexpensive universal clip everywhere often leads to crooked bulbs, weak attachment, or avoidable pressure on the surface.
Consistency matters just as much as the clip. Our installers avoid jumping from soffit to gutter to shingle whenever possible, place a bulb directly at each peak, and keep spacing close to 12 inches when the architecture permits. That is the difference between a line that traces the house and one that looks improvised. See the most common installation mistakes for a closer look.
Light the tree that is actually there
Full winter trees can work well with a spiral or branch-hopping method. Sparse deciduous trees often look better when major branches are wrapped individually, allowing the light to reveal the natural structure after dark. The right method depends on the species, winter fullness, height, and the effect the homeowner wants.
Plugs should not be left exposed, and the route should be planned with takedown in mind. Reaching the top, managing circuits, and avoiding a knot of interlocked strands are common trouble spots. Our tree-wrapping guide explains the decision in more detail.
Custom-fit the visible lights and hide the connections
Professional crews bring more socket line than the measured run is likely to require, install it to the architecture, and remove the excess at the approved cut point. C7 and C9 socket line can be cut and terminated correctly; mini-light strands generally cannot.
Lead cord and properly placed plugs connect separated roof areas without leaving empty sockets or dangling extension cords in view. Safe concealment may include routing behind a downspout, within a soffit area, or beneath an appropriate shingle edge. The detailed custom-cut lighting guide explains what can and cannot be tailored.
Respect the wire, the outlet, and the weather
Available wattage is only one limit. The light line and the distance from the outlet matter too. Our LED bulbs use about 0.5 watt each, but we still generally limit a run to about 200 bulbs away from the outlet because the wire—not only the circuit—can become the constraint.
Rain and melting snow expose weak routing quickly. A cut end that is not sealed or a plug resting where water collects can trip a GFCI. We secure wire ends and keep plugs suspended instead of laying them on the ground. If a breaker or GFCI continues to trip, disconnect the display and investigate rather than repeatedly resetting it. Learn what to check in why Christmas lights trip a GFCI.
Electrical capacity varies with the circuit, other loads, product ratings, and local requirements. Follow the manufacturer’s instructions and use a qualified electrician when the available power or outlet condition is uncertain.
Know when the project should stop being DIY
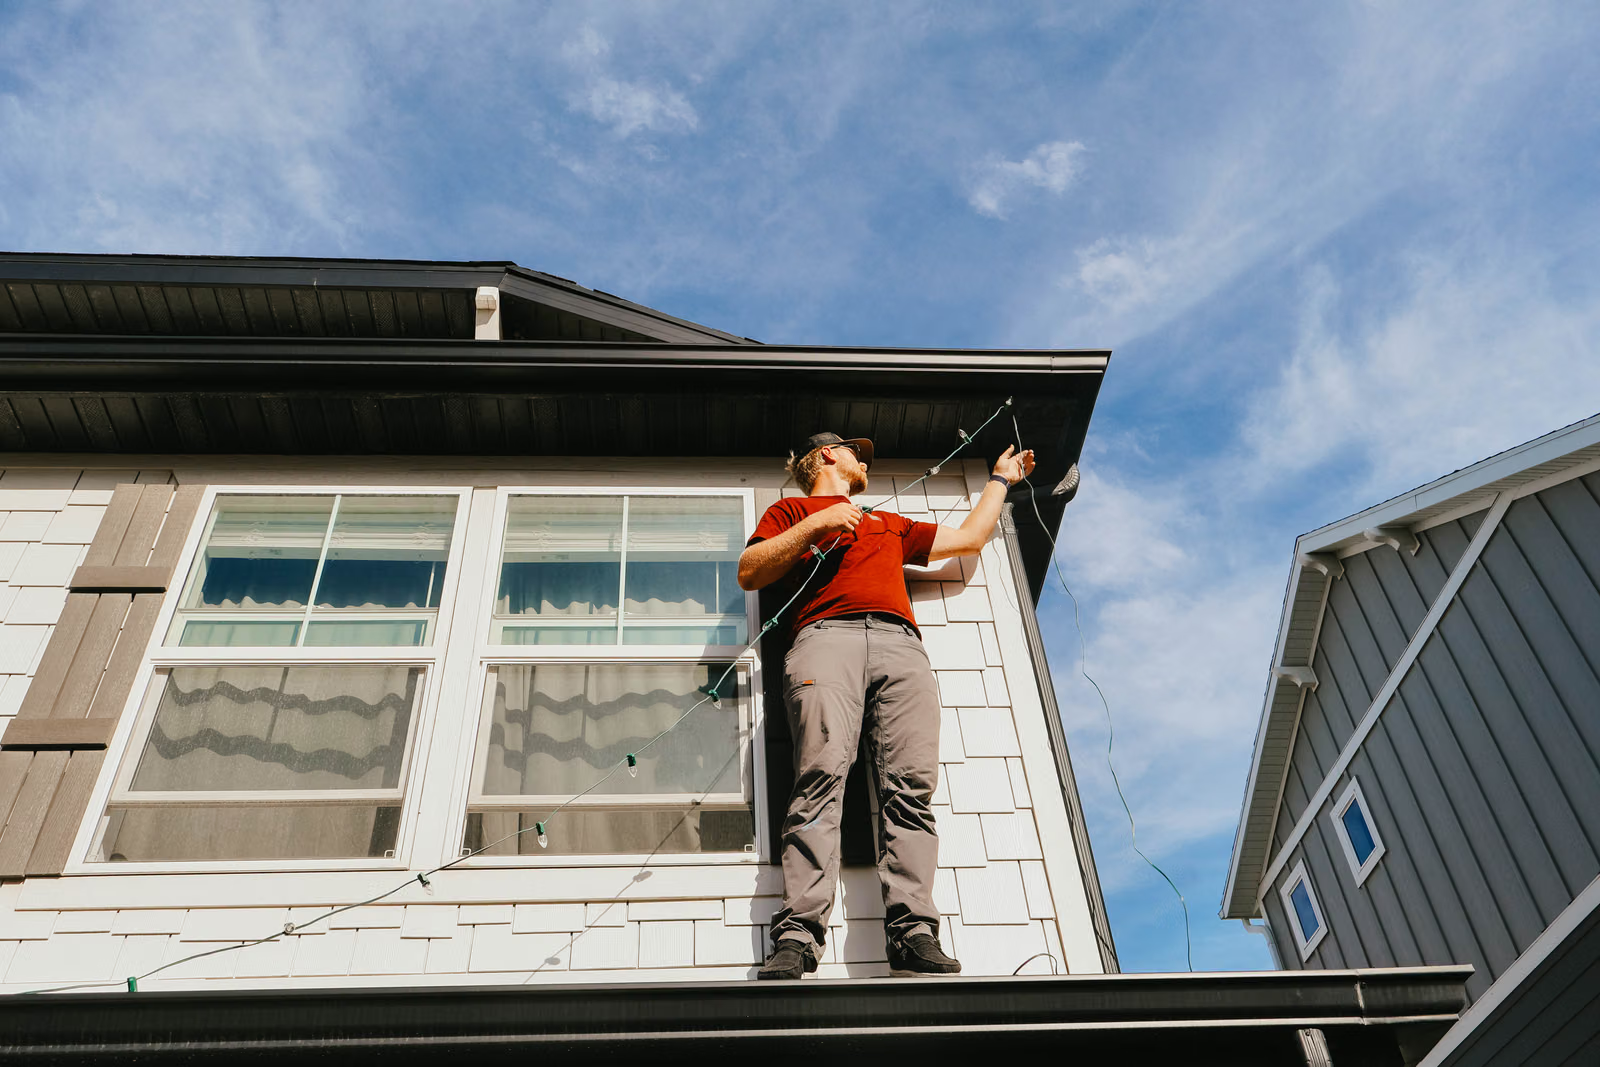
Falls and electrical shock are the two risks our team worries about most. A homeowner should avoid the project if they are uncomfortable with heights or electricity, lack stable access, or do not trust their balance and coordination on ladders and roofs.
Snow, frost, wind, a steep pitch, a second-story edge, or awkward landscaping can turn a familiar task into a bad bet. Hiring a professional is not a failure of DIY ambition; sometimes it is simply the right risk decision. Chestnut & Cheer provides residential Christmas light installation across its northern Utah and Wasatch Back service area.
Plan maintenance, takedown, and storage before installation
When a display goes dark, begin with the simple possibilities: confirm the outdoor outlet still has power and check whether an indoor switch controls it. Weather can accelerate deterioration; sun exposure can yellow bulbs, and repeated installation eventually makes clips brittle.
Most deterioration happens outside, not in the storage bin. Installing later and removing earlier reduces exposure. For repeatable installation, our team favors a color-coded map that identifies each run. Read more about light lifespan, troubleshooting, and storage.
Compare the whole service, not just the installation day
Professional quotes vary with workmanship, crew experience, demand, access, design, and the materials included. A complete seasonal service should make it clear who provides the lights and whether installation, in-season maintenance, removal, and storage are included.
Look for reviews, reliable communication, a company that stands behind its work, and a clear takedown commitment. Buying, leasing, and multi-year programs distribute cost and ownership differently, so ask who owns the lights and what happens in later seasons. Use our installer comparison checklist and review Chestnut & Cheer pricing before deciding.
Reserve the work before winter removes your options
Late October through November is the usual installation window. Planning earlier gives time to settle the design and gives the installer more flexibility before snow, ice, and a full route narrow the calendar.
A professional installer can handle measuring, materials, connection planning, and electrical access around the specific home and the homeowner’s vision. Our guide to the best time to install Christmas lights lays out the practical schedule.