On this page
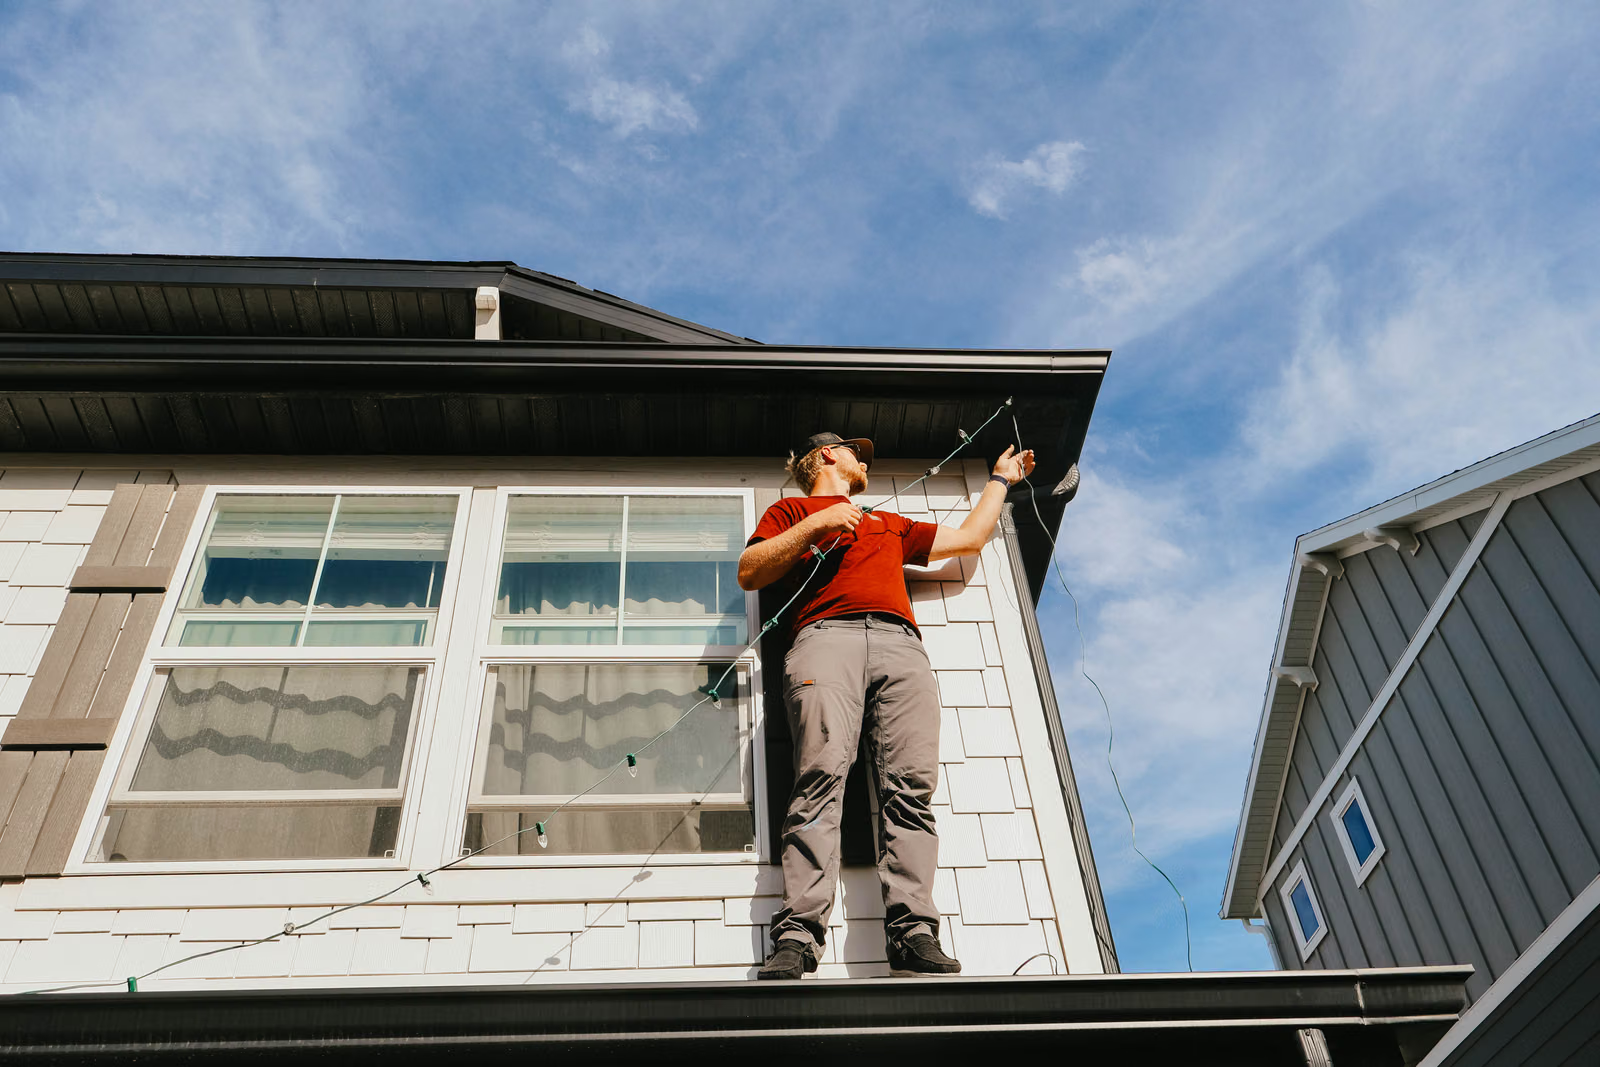
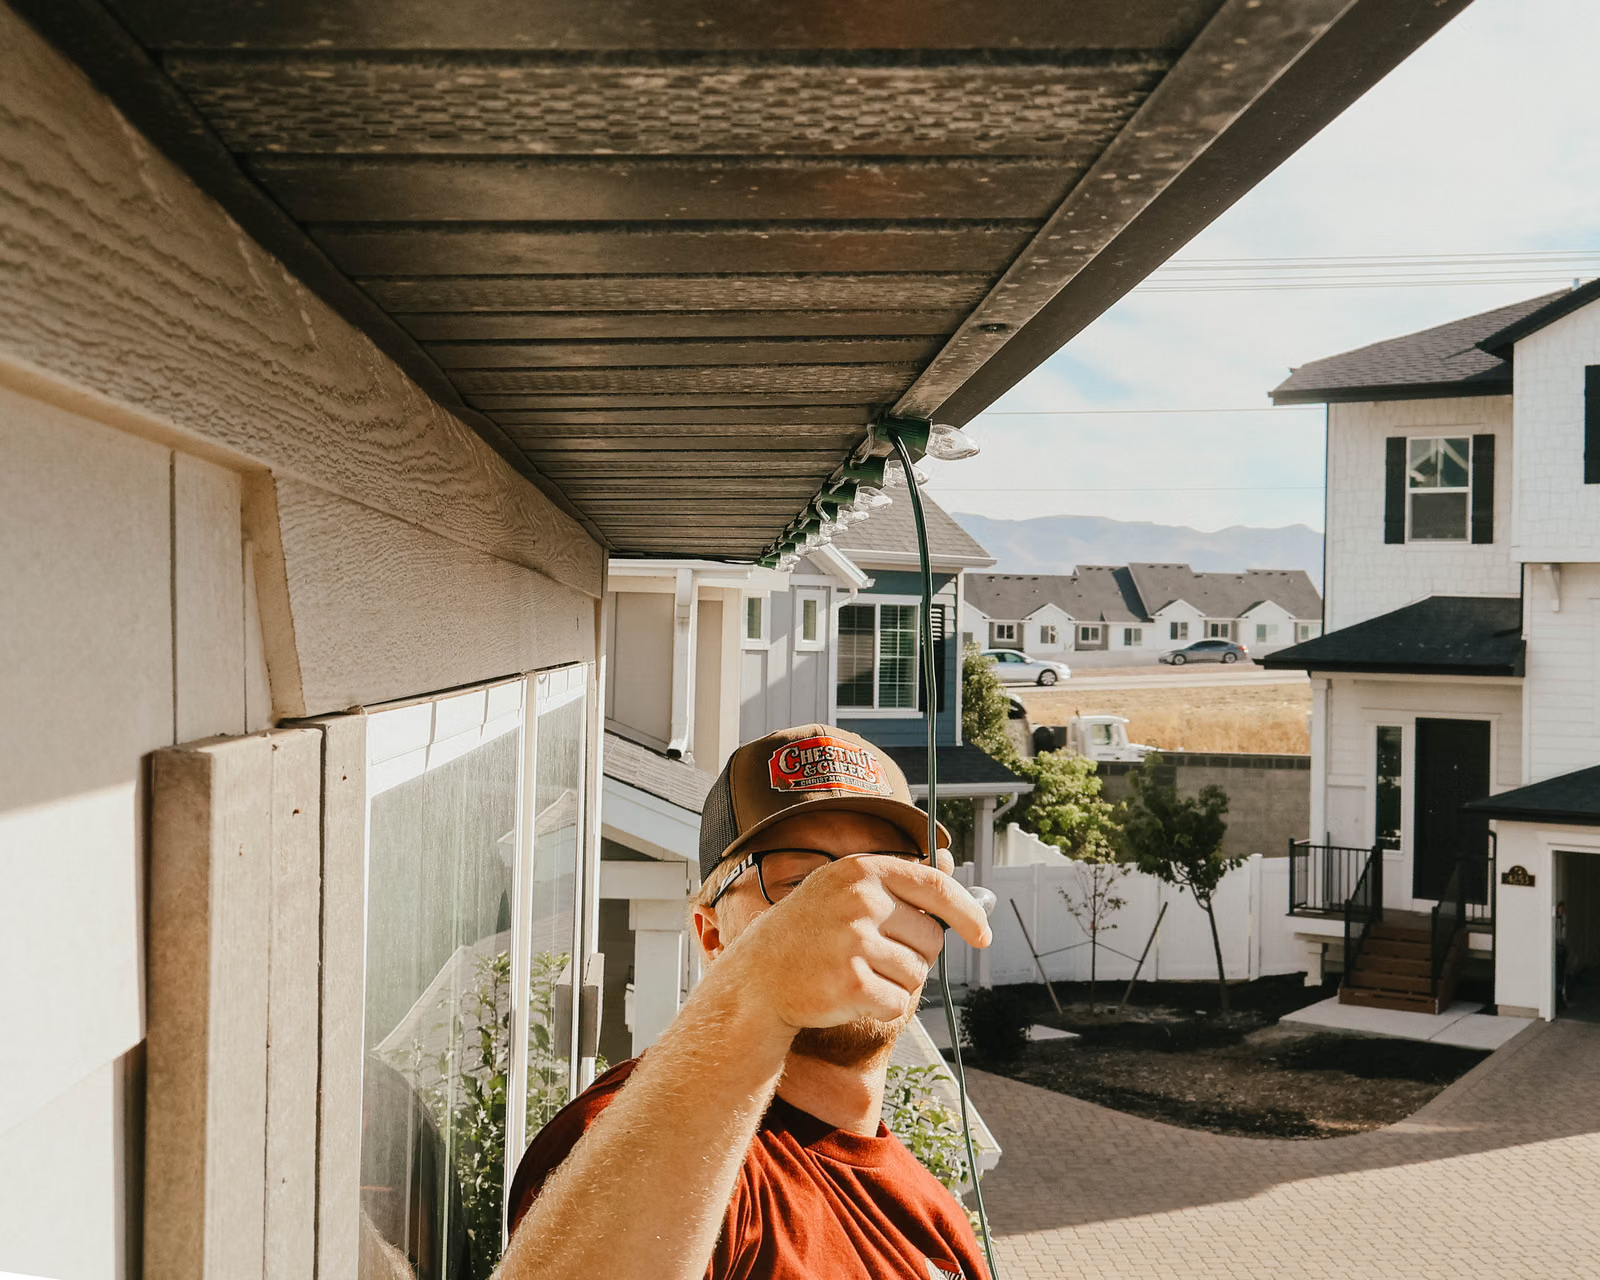
“We avoid transitioning from soffit to gutter to shingles whenever possible so the lights stay in one straight line, and we make sure there’s a bulb directly at each peak.”
1–3: visible shortcuts that make a display look unfinished
The first three mistakes are exposed loose ends, dangling power cords, and runs of empty sockets used to bridge a gap. All three advertise how the display was powered instead of letting the architecture lead.
A professional uses lead cord and properly placed plugs to connect separate roof areas, then routes those connections out of the primary view. C7 and C9 socket line is fitted to the run so excess wire does not collect at the last corner. Our custom-cut lighting guide explains that system.
4–5: the wrong clip and an inconsistent line
The nicest clip can look like an unnecessary expense until a cheap one twists bulbs, slips, or does not suit the surface. Shingle tabs, Solo Light Clips, and clay-tile clips exist because roofs are not interchangeable.
The fifth mistake is changing attachment surfaces without a visual reason. Moving from soffit to gutter to shingle changes the height and angle of the bulbs. Pros choose one line, keep spacing close to 12 inches when the house permits, and place a bulb at each peak so the geometry feels intentional.
6–7: exposed electrical connections and unsafe access
An unsealed cut end or a plug sitting in a puddle can create a GFCI problem. Cap approved cut ends, support plugs above places where rain or snowmelt collects, and follow the product’s rating and instructions.
The final mistake is treating every roof as safely DIY. Height, pitch, wind, frost, ladder placement, and personal coordination all matter. If any of those feel uncertain, stop. You can compare the full process in our professional installation guide or request residential installation.